Setting up the project
Viewport
Before we start coding, we must understand some concepts related to rendering the game in Flame. Let's say we have a device whose screen size is the whole red area from the following image:

Canvas: The red area is the Canvas, and is the available area on which we can paint shapes, images, etc. Most of the time, the canvas size will equal the device screen size. We can use the canvas size to know the actual logical pixel size.
Viewport:: The black area is the Viewport. Because we have to deal with different screens, it is often necessary to decide how those different screen sizes and aspect ratios should be handled. The Viewport attempts to unify multiple screen sizes into a single configuration for your game by translating and resizing the canvas.
For these tutorials, to make all the examples easier to understand, we will use a FixedResolutionViewport. This
viewport supports working with a virtual screen size. That means one can assume that a screen is always of the
size virtualWidth x virtualHeight, will always maintain the aspect ratio and may add black bars if needed.

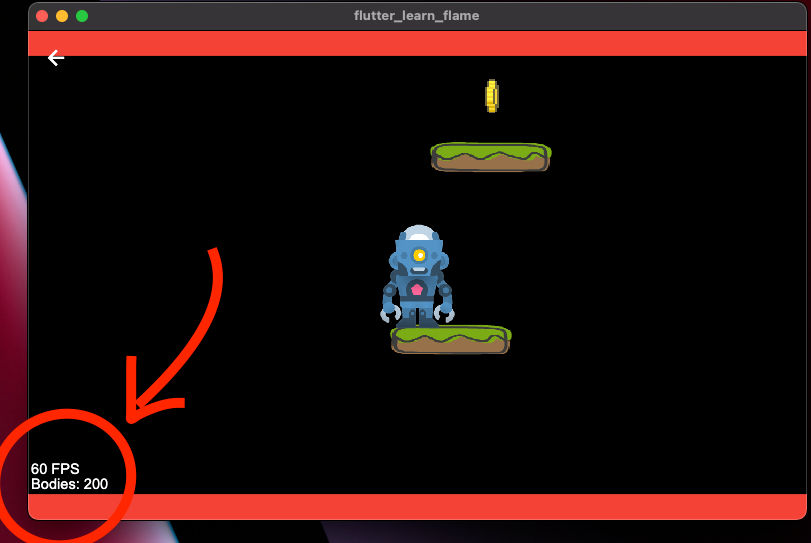
Red bars added to keep a fixed resolution viewport
In the image above, notice how resizing the window shows the red canvas below; in other words, it "adds black bars" to keep the aspect ratio.
When working with Box2D, remember that 1 unit = 1 meter. If we have a FixedResolutionViewport with values
1280 width x 720 height, and we decide to put a tree that is half of the height, then for Box2D, we will have a
360 meters tree, which doesn't make sense. To fix this, we will add a zoom value of 100 so the world size will
become 12.8 width x 7.2 height. Now adding a 3.6 meters tree makes more sense.
Start coding
In these tutorials, We will not go through the steps of setting up and creating a Flutter project. So after you
create a new Flutter project, adding Flame to it is very simple. Just add the needed
packages to the pubspec.yaml file:
flame: ^1.2.1
flame_forge2d: ^0.12.1
Then we will create a MyGame class.
// Fixed viewport size
final screenSize = Vector2(1280, 720);
// Scaled viewport size
final worldSize = Vector2(12.8, 7.2);
class MyGame extends Forge2DGame {
// Keep track of the number of bodies in the world.
final totalBodies = TextComponent(position: Vector2(5, 690))
..positionType = PositionType.viewport;
// Keep track of the frames per second
final fps = FpsTextComponent(position: Vector2(5, 665));
// Scale the screenSize by 100 and set the gravity of 15
MyGame() : super(zoom: 100, gravity: Vector2(0, 15));
Future<void> onLoad() async {
// Set the FixedResolutionViewport
camera.viewport = FixedResolutionViewport(screenSize);
// Adds a black background to the viewport
add(_Background(size: screenSize)..positionType = PositionType.viewport);
add(fps);
add(totalBodies);
}
void update(double dt) {
super.update(dt);
// Updated the number of bodies in the world
totalBodies.text = 'Bodies: ${world.bodies.length}';
}
Color backgroundColor() {
// Paints the background red
return Colors.red;
}
}
// Helper component that paints a black background
class _Background extends PositionComponent {
_Background({super.size});
void render(Canvas canvas) {
canvas.drawRect(Rect.fromLTWH(0, 0, size.x, size.y), blackPaint);
}
}
Notice that the components totalBodies, fps and _Background are placed using the screenSize values and not
the scaled values and their positionType is PositionType.viewport. The reason is that these elements are not
part of the game. They will not take part in the simulations, will not collide, will not move with the camera, etc.
For the rest of the tutorials, we will extend from the class MyGame so we do not have to set up everything
again and again.