Change the application launcher icon on Flutter without using any package
In this article, we will change the iOS and Android application launcher icons in an application created on Flutter. If we only have one icon, we will learn how to create the alternate needed resolutions, but if we do not have any, we will create one from zero.
How to create the icons for my app?
Why do we need alternative resolution icons?
Android and iOS have different requirements for the sizes of the alternative icon. These are needed to support devices with multiple resolutions. We can find more information in the official documentation:
- Android: Support different pixel densities
- iOS: App Icons
Also, if we do not add the needed alternative icons, there is a big chance that Apple or Google will not approve our app in their app stores.
App Icon Generator
I already have an icon. How do I create the alternative resolution icons? The answer is App Icon Generator. Let's say we have a 1024x1024 pixel icon, like the following:
We want to create alternative resolution icons for iOS and Android. One way is using an image editor like Adobe Photoshop, but we will have to resize several images one by one, which can take a long time. Another option is using App Icon Generator, which will create all the alternative icons with a few clicks.
On the App Icon Generator website, we have to upload our icon, then we choose the iPhone, iPad and Android platforms and click on "Generate"
Clicking "Generate" will download a compressed file that contains the following files:
- android: Contains all icons needed for Android
- Assets.xcassets: Contains all icons needed for iOS
- appstore.png: This icon can be used in the App Store
- playstore.png: This icon can be used on Google Play
Once we have created the needed alternative icons, we can add them to our Flutter project.
IconKitchen
I do not have an icon. How do I create one and generate the alternative resolution icons? The answer is IconKitchen.
IconKitchen is a tool that helps us create icons for iOS, Android, Web, etc. and also creates the alternative needed resolutions.
In IconKitchen, we can choose from several predefined icons to create our icon. Also, we can change several properties like text, images, color, texture, figure, etc.
Once we create the icon that we want, we click "Download" then a compressed file will be downloaded with the following files:
- android: Contains all icons needed for Android
- ios: Contains all icons needed for iOS
Once we have created the icon we want and all the alternative resolutions, we can add them to our Flutter project.
Change the iOS and Android icons
Change the iOS icon
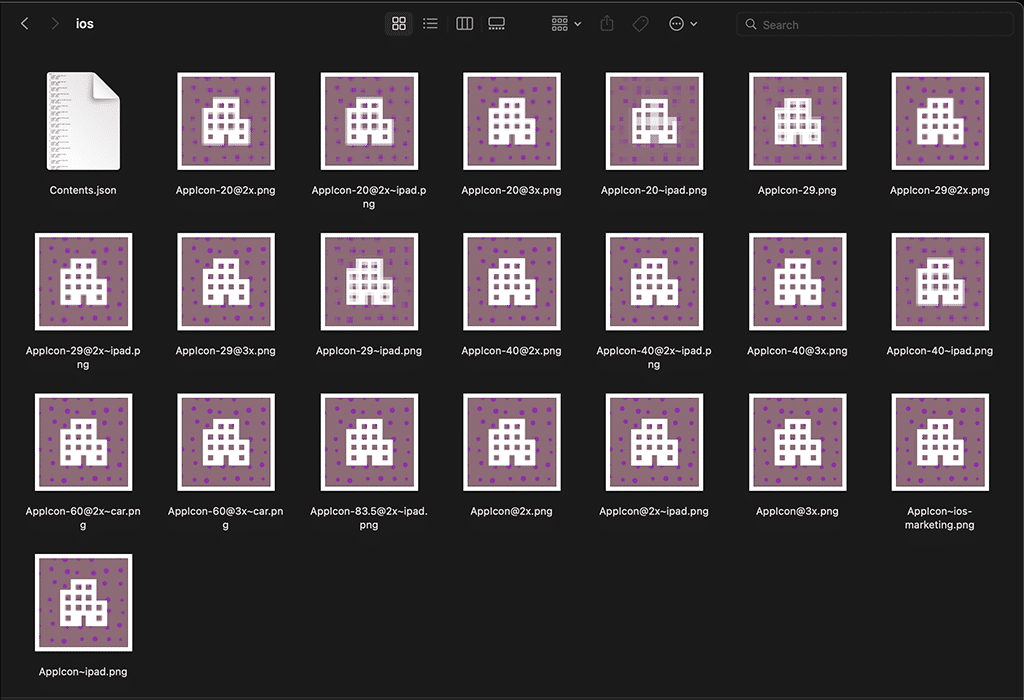
It does not matter if you used IconKitchen or App Icon Generator to create the icons for iOS. The files are very similar, the only thing that can change is the name of the images. In this tutorial, we will be using the icons generated by IconKitchen. Let's see the content:
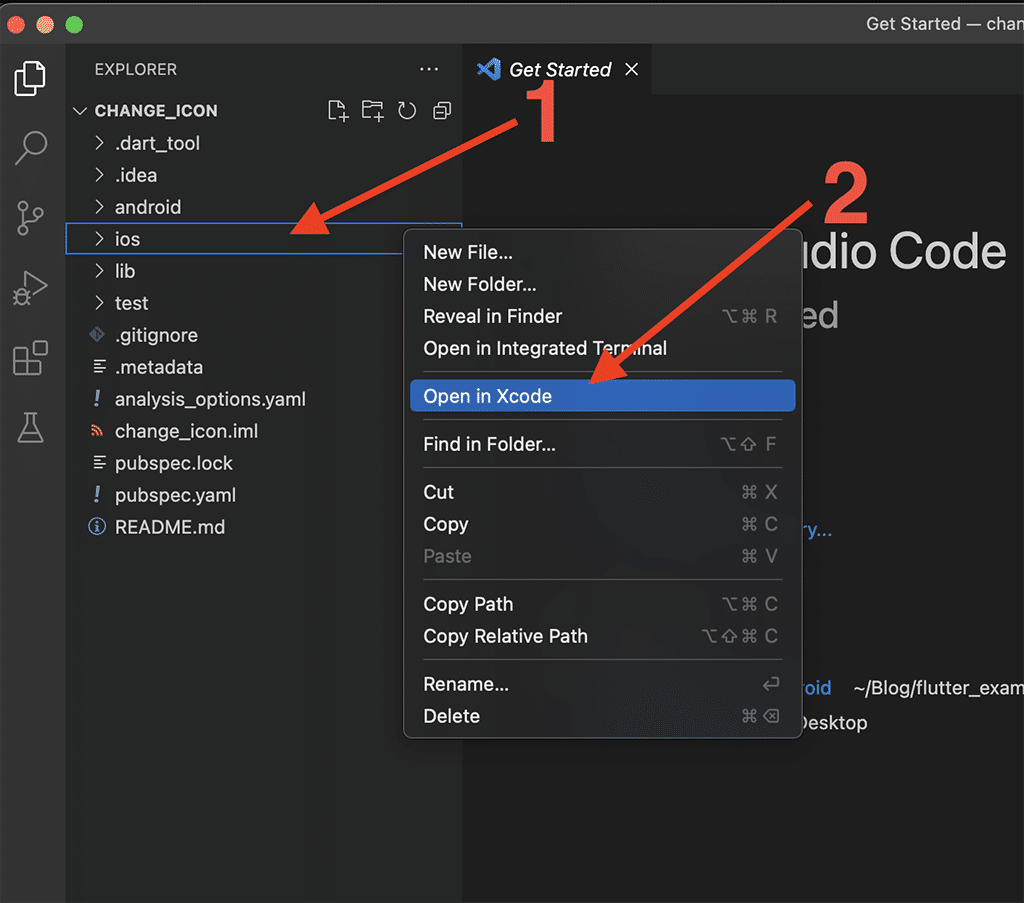
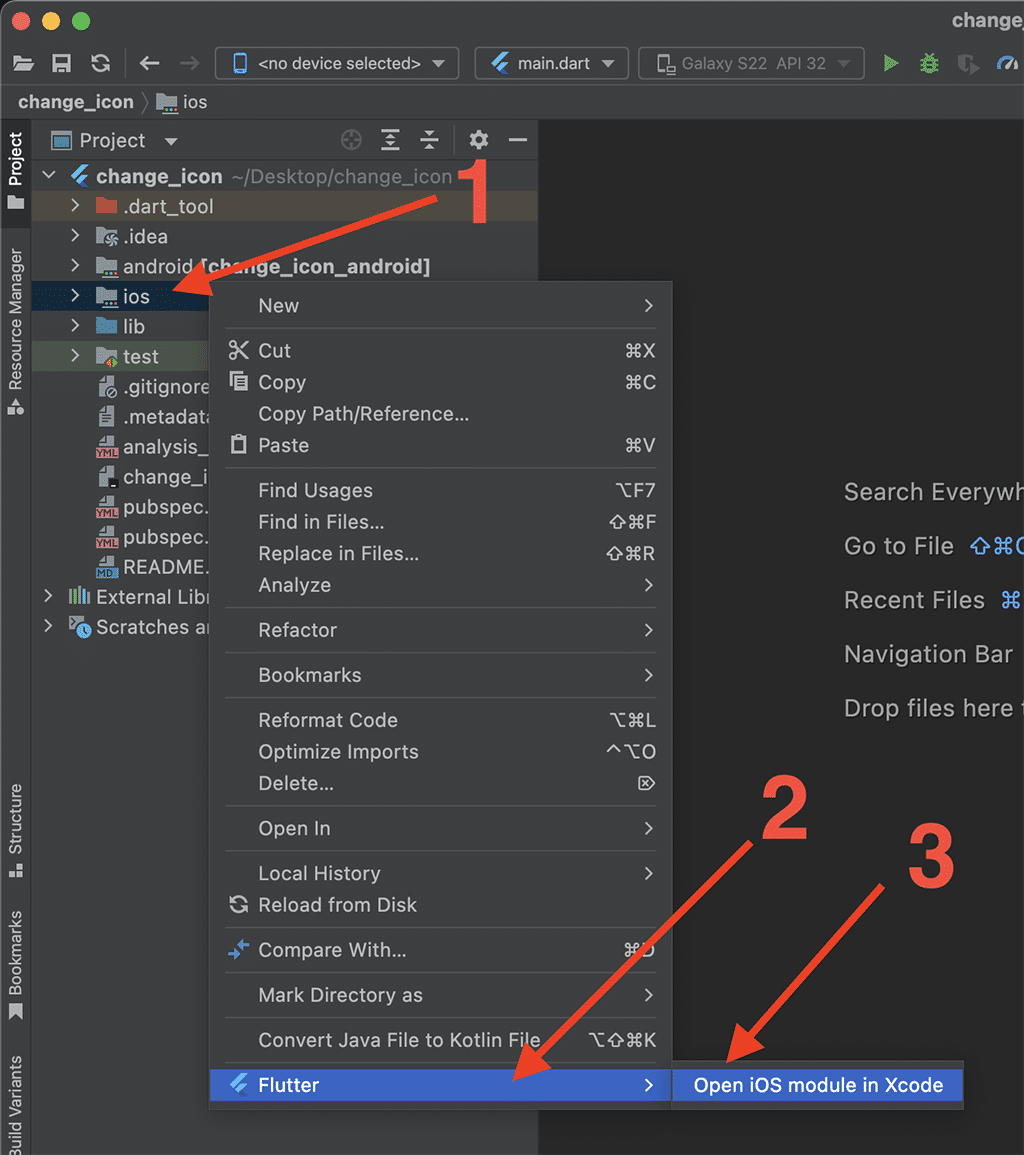
To change the iOS icons, we must open the ios project in Xcode. If you use Visual Studio Code, follow the next instructions, or if you prefer Android Studio jump to the next section:
Opening the ios project in Xcode with Visual Studio Code
- 1- Right-click on the ios folder
- 2- Click on "Open in Xcode"
Opening the ios project in Xcode with Android Studio
- 1- Right-click on the ios folder
- 2- Choose the Flutter section
- 3- Click on "Open iOS module in Xcode"
Changing icons in Xcode
Now that we have already opened the ios project in Xcode, let's open the AppIcon folder, which contains the current icons:
- 1- Open the "Runner" folder
- 2- Select the folder "Assets"
- 3- Clic on "AppIcon"
Finally, we have to drag and drop the new icons into Xcode. Check the following animation:
Great, now we can close Xcode and run the Flutter project with the new icons in iOS.
Change the Android icon
Changing the Android icon is straightforward too. In this tutorial, we will be using the icons generated by IconKitchen. Let's see the content:
Where are the icons? Well, the icons are inside the res folder. If we open it, we will find the following folders:
- mipmap-anydpi-v26
- mipmap-mdpi
- mipmap-hdpi
- mipmap-xhdpi
- mipmap-xxhdpi
- mipmap-xxhdpi
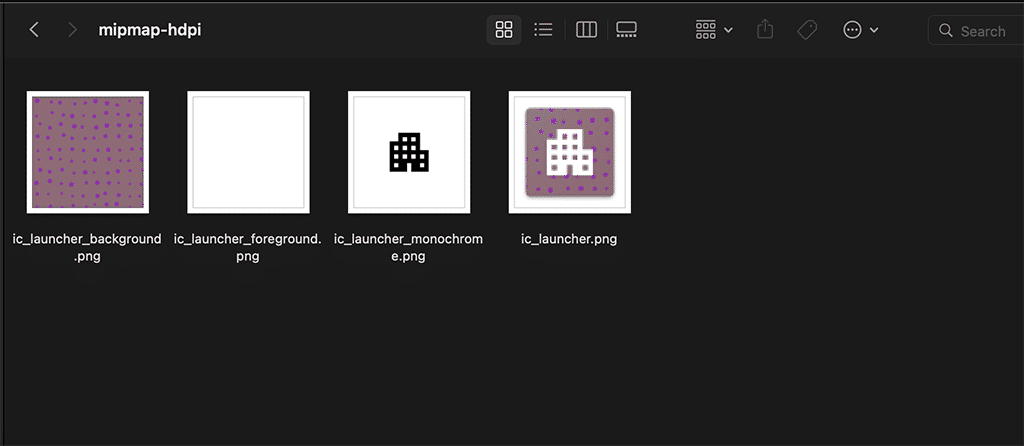
Inside each one, we will find a couple of images:
Why are there many images? In Android, there are hundreds of devices with different "Android Launchers." These launchers will take those images to create and show the best possible icon for the device. We are changing the icon in this tutorial, so we will only focus on the res folder.
Android Launcher: Is essentially the app that displays your home screen, be it your apps, widgets, app drawer, etc.
Let's open the Flutter project in our Favorite IDE. No matter if it's Visual Studio Code or Android Studio, the steps are the same:
- 1- Open the folder res which is on the path /android/app/src/main/res
- 2- Delete all folders whose name starts with mipmap-
Finally, we have to drag and drop the new icons into the res folder. Check the following animation:
Great, now we can run the Flutter project with the new icons in Android.
Conclusion
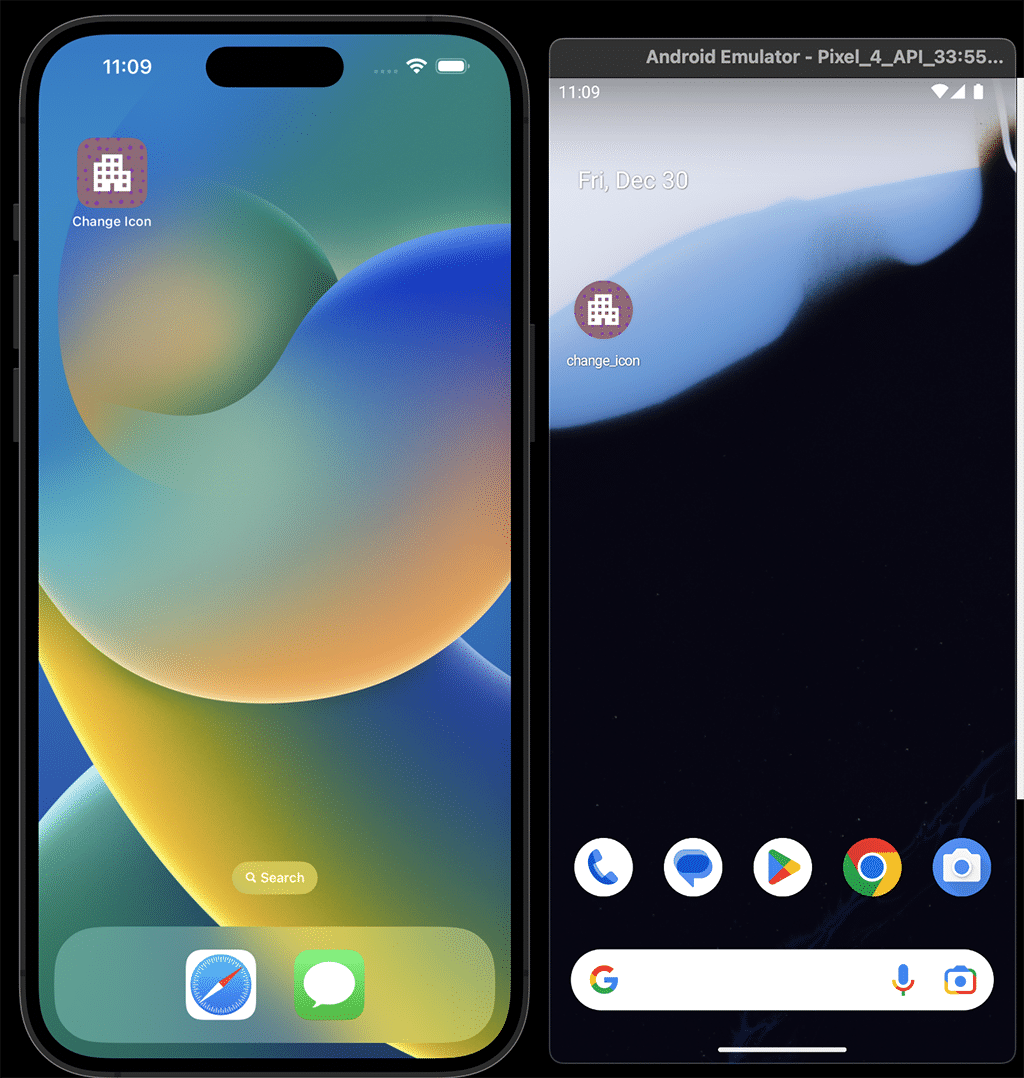
Let's run the project on Android and iOS to see the new icons:
In this tutorial, we made one icon for iOS and Android and created alternative icon resolutions. We also learned how to change the iOS icons and the Android icons. All the steps to change the icons in Flutter were straightforward and just took a few clicks.
